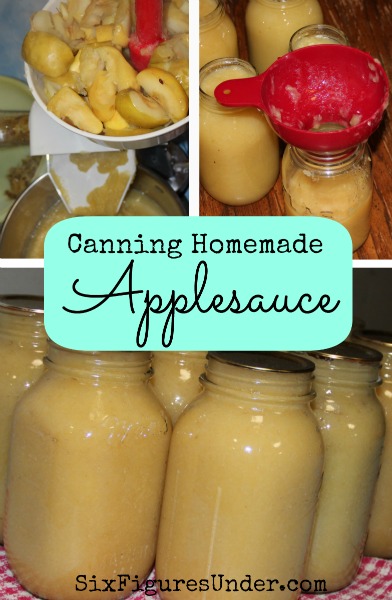
Homemade unsweetened applesauce is great for your diet and your budget. As in all homemade food and home-canned produce, it is comforting it know exactly what is in your food. When you can preserve your own produce or produce that you buy at rock-bottom prices, you can save money in your food budget.
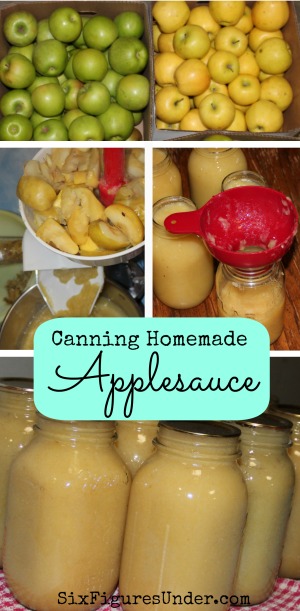
In our part of California, the best time for great prices on apples is January. Some of the local orchards keep fall apples in cold storage and in January the price goes down. The apples are big and lovely and still in wonderful condition.

We bought 120 lbs a couple weeks ago and another 120 lbs this week. The current price is $15 for 40 lbs which comes out to be about $.37/lb.
Applesauce is delicious cold or hot, as a snack or with a meal. In baking, applesauce is a wonderful and healthy substitute for oil. Our family’s favorite way to eat applesauce is on pancakes and waffles as a substitute for syrup.
I love that applesauce has one ingredient: apples! No sugar or pectin or anything else needed. About 3 pounds of apples goes into each quart of applesauce. You will get nice thick and delicious applesauce. It won’t be watered down or sugared up like what you may find at the store.
With the right equipment, canning homemade applesauce is easy. It’s a great canning project for beginners. Grab your spouse or a friend or even your kids and let’s get started!
1. Wash and Quarter Apples
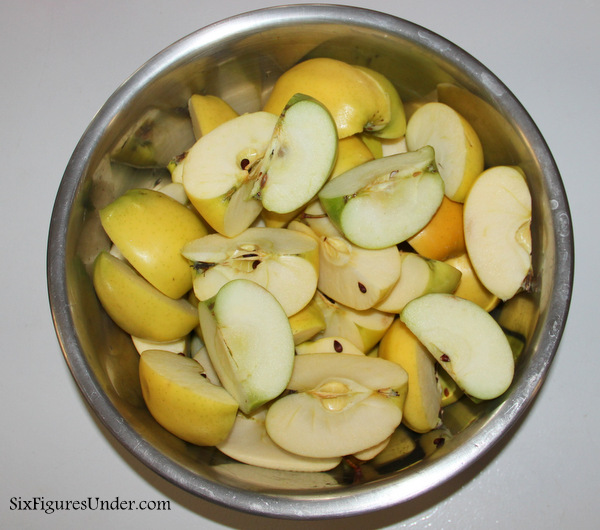
Wash apples thoroughly. Cut apples into quarters. Cut out any bad spots, but don’t worry about removing cores or seeds. Our amazing saucer will take care of that for us.
2. Steam Apples

Fill a large pan (preferably one with a lid) with quartered apples. For the first batch, put a small amount of water (maybe 1/2 cup) in the bottom of the pan. With the lid on, steam apples over medium-high heat for about 15 minutes, or until apples are soft.
We usually have two pots going at the same time (or alternating) so there is never a bottleneck waiting for apples to be ready.
3. Sauce Apples with Strainer/Saucer/Juicer

If you’re going to be doing more than a couple of quarts of apples, a Food Strainer and Sauce Maker will make your life so, so much easier. It is a great investment if you plan to make and can applesauce in bulk (and you can do other foods with it too).

Ladle your soft, hot apples from the pan into the hopper of the saucer. Save the juices in the pan to help steam your next pot of apples. Crank the handle clockwise while pushing the apples through the hopper. Your applesauce will come down the white slide, so you’ll want a bowl or pan to catch it. The core and peel will come out the cone on the left. You will want another bowl to catch that (which we affectionately call “junk”).

After a few hoppers-full of apples, we run the core and peel “junk” through the saucer another time or two. This separates more of the apple flesh from the core and peel, providing nice, thick sauce and minimizing our waste. The final “junk” goes out to the chickens to be turned into eggs.
4.Prepare Jars and Flat Lids


Jars should be cleaned in hot, soapy water, or in your dishwasher. Turn warm (not cold) jars upside down in an inch or two of boiling water. This sterilizes the jar and gets them hot. I love that I can use the bottom of my steam canner to heat my jars. I used to just use a regular pan (see first picture), but the steamer holds seven jars at once (second picture)!
Put seven flat lids in the boiling water as well. Heating them sterilizes them and helps soften the rubber seal. The flat lids should not be re-used. The jars and rings can be used over and over (for generations), but the flat lids should be new. You can buy them at Walmart or a grocery store. We used to buy them at an Amish bulk store for a great price, but unfortunately we don’t have any of those in California!
5. Fill Jars

Using the funnel from your canning tool kit to minimize your applesaucy mess, fill your hot jars. Leave about 1/2 inch headspace (empty space at top of jar).
6. Clean Rim, Put on Flat Lids and Rings
In order to seal properly, the rim of the jar needs to be clean and not have chips or cracks. Use a wet cloth to clean the rim. Using the handy magnetic lid lifter that comes in every canning tool kit (or with skilled hands you can use a fork), grab a flat lid out of the water and place it on a jar. Screw a band on firmly, but not overly tight.
7.Process

In a water bath canner or steam canner
, process hot applesauce according to your altitude in the cart below:
| Style of Pack | Jar Size | 0 – 1,000 ft | 1,001 – 3,000 ft | 3,001 – 6,000 ft | Above 6,000 ft |
| Hot | Pints | 15 min | 20 min | 20 min | 25 min |
| Quarts | 20 min | 25 min | 30 min | 35 min |
My personal preference is the steam canner since it takes less water and is much less cumbersome to use, plus it works great for sterilizing and heating the jars (step #4).
In a steam canner, you start timing once the steam coming out the hole is at least the length of a quart jar. You can turn the heat down (so it doesn’t steam like crazy) as long as you still have a steady stream of steam. When the time is up, turn the stove off. Remove the lid by lifting it away from you so you don’t get a face full of steam.
8. Cool Jars, Remove Rings, Wash Jars
Using the jar lifter from your canning tools (or just a hot pad), move your jars to the counter. I usually set them on a towel and let them cool overnight in a non-drafty area.
About 24 hours later, remove the rings, check the seal and wash the jars. To check the seal, pull up lightly on the flat lid with your finger. If it pulls off easily, the jar did not seal adequately. You can put the jar in the fridge and use it in the week or two.
All the jars that sealed well can be stored for years in your pantry or any other relatively cool and dark location. Label them with the year and contents so that you can keep your food storage rotated.
Turn your work into family fun!
Last Saturday we spent the morning making and bottling applesauce as a family. Our 4- and 5-year-old stuck with it for nearly three hours. They took turns turning the crank and using the pusher. In some other family projects their “help” isn’t necessarily helpful, but in the applesauce endeavor, they made real contributions. Daddy washed and prepared the apples, the kids sauced, and I canned. We were our own little applesauce factory. I love it when work and family time come together in such a fun and productive way!
Note: This post contains affiliate links for products I love. For more information, see my disclosure policy.
You’ll Also Enjoy:


I canned applesauce from early transparent apples. After canning, the solid applesauce rose to the top and there was about an inch of juice on the bottom of each jar. Is this okay? It looks fine otherwise.
OH, wow!! I wish I could find apples at that price. Your applesauce looks delicious.
We just started our canning and preserving journey this year! We made a ton of applesauce…but one batch seems to have about an inch of separation at the bottom, almost like a juice. Do you happen to have any idea what this may be? I’m hopeful that when we get to this jar, we can pour it out, give it a good mix, and it will be good to go!
Hi Stephanie,
Great canning tutorial. Your applesauce looks really good. How long does homemade canned applesauce last?
It lasts for years and years. We usually eat ours within 3 years or so, but only because we love it so much (not because it’s going bad). My mother-in-law probably still has (and eats) applesauce she canned a decade ago).
How long would I process the applesauce in a pressure canner? For pints and quarts? I am really looking forward to trying this…. we have an apple tree in our back yard and it produces alot of apples 🙂
That’s wonderful that you have your own tree! Applesauce is a must then! 🙂 Here is the timing chart for pressure canning (both kinds). Even though the actual time is a little shorter, the overall time is longer because you have to account for the canner to get up to pressure, and then wait for the pressure to release.
If you want to get even More goodness from your apples, keep using the same water to steam them (like you suggested, adding a little as needed), then take all the “junk” when you’re done milling the apples and add it back to the pot with your steam water/apple “juice”. Cover the junk with water plus 1-2 inches, simmer for 30-45 minutes.
Strain out junk, pour a bit of the juice to the side and let cool enough to taste it. Simmer it down and keep tasting it until you have a strong enough juice to use to make jelly. Use whatever jelly recipe you would usually use for jelly from fruit juice.
If you don’t have enough junk leftover from one canning batch to make this project worthwhile, or if you just want to save the project for another day, the peels and cores and steam juice can store in the freezer just fine until you have enough scraps and/or time to make jelly.
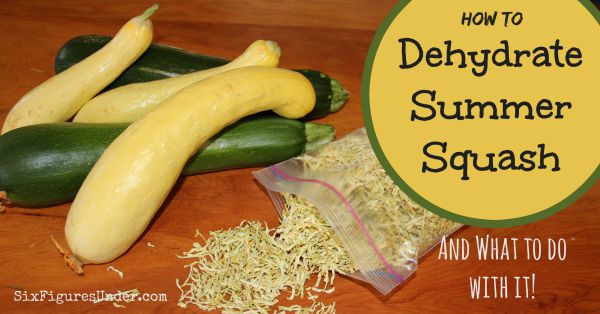
I also do this with my peels and cores when I make apple and pear dehydrated fruit rings. The scraps when you’re done can still go to the chickens, and you get even more value for your dollar!
Thanks for the great post!
Thanks Rae! I’ve never made apple jelly before. Maybe in the fall I’ll try using some of the “junk” for that! Thanks for the new idea!
Well done! Very informative! Thank you for sharing!
Thanks Ann!
Stephanie, thanks SO MUCH for your prayers! God is so good and we were able to file our taxes ourselves this weekend and we are getting back $2989! 😛
That’s wonderful news Liz! Thanks for sharing!
Sounds like a lovely family project!
It is! And it’s one we get to enjoy all year long as we eat the applesauce.
I bet that tastes delicious!! 🙂 Thanks for sharing your tutorial 🙂
It is delicious!