
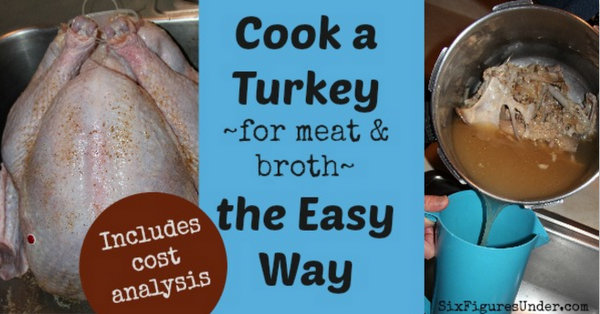
If you want to take advantage of seasonal turkey prices or you have a lot of thanksgiving leftovers, you’ll be glad to know that turkey can be canned! Bottling turkey meat is a great way to preserve meat for your food storage because it doesn’t require a freezer.
There isn’t a more seasonal food item than turkey. Whole turkeys are virtually ignored January through October, but come Thanksgiving and Christmas, the supply and demand of turkey goes through the roof
Turkey can be tricky to stock up on since it either requires a deep freezer or a willingness to go through the effort of bottling up your cooked turkey. Since freezing turkey doesn’t require any special steps (just space) and I already showed you how to cook it and use it all, this time I’m going to focus on canning your turkey.
Canning fruits and veggies, jams and sauces, is pretty normal, but canning meat gets people a little frightened. If you take reasonable precautions and follow guidelines carefully, you can bottle meat safely at home. I know, I was scared too! I’m just a little squeamish around meat in general though.
My mother-in-law is not squeamish, so she’s going to show us how it’s done. While I get my wisdom from her, she gets hers from her food preserving bible, Stocking Up: How to Preserve the Foods You Grow, Naturally. She has a copy of the vintage edition, which is well-loved. You can get used copies of the vintage edition for pennies, plus shipping– a worthwhile addition if you’re going to really get into canning.
Oh, and before I get started, I should let you know that this tutorial applies to chicken as well!
Equipment
Pressure Canner— No exceptions here. A water bath canner will not work! You must have a pressure canner with a working gauge. You should have your gauge tested each year. Your county probably has an extension center that will test it for you.
Canning Jars— You can use pint or quart jars. Pint jars hold about 2.75 to 3 pounds of de-boned turkey or chicken and quart jars hold about 5.5 to 6.25 pounds. If you are reusing mason jars, check to be sure there are no cracks and that the rim of each jar is free from chips in the glass, which could prevent proper sealing.
Flat lids and Rings— Rings can be used over and over again (jars are stored without the rings on them). Flat lids must be new and unused. If you buy new jars, they will come with flat lids and rings, so there’s no need to buy them separately.
Canning utensils— A set of canning utensils is very convenient to have. Most sets include a jar lifter (to lift jars out of super hot water, a magnetic lid lifter, a tightening wrench, and a funnel.
Instructions
When you’re canning anything, it’s important to make sure your equipment is fully cleaned and sanitized. When you’re canning meat in particular, you want to be even more conscious about making sure everything (knives, cutting board, jars, etc) are washed and sterilized.
While it is possible to raw pack meat, I’m going to focus on the hot pack method. That means that the turkey will be fully cooked and still hot when we put it into bottles.
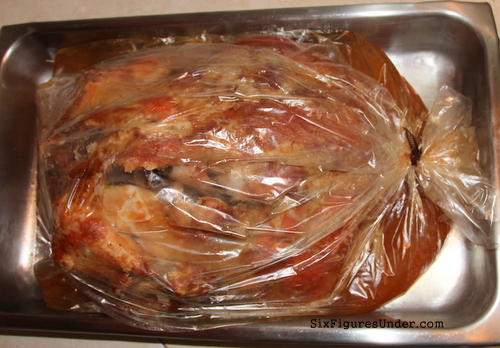
You’ll start by fully cooking your turkey or chicken. You can find full instructions on that here. You’ll also want to use the bones to make broth (you’ll find the instructions in that same post).
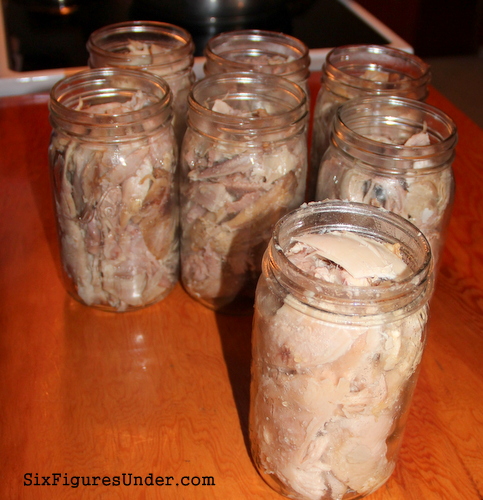
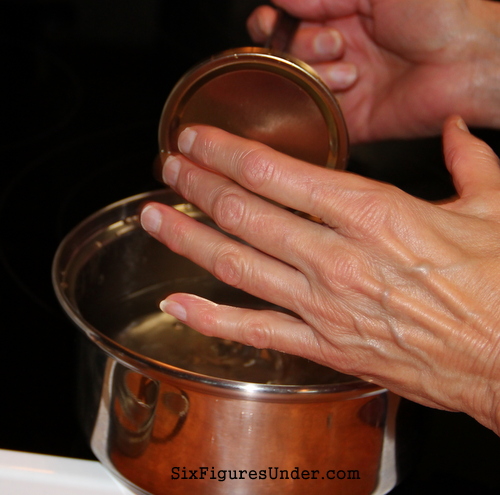
You can leave your bones in if you like, but for the sake of space and the ease of future use, I recommend taking the meat off the bones. Cut your meat into jar-sized pieces. Pack hot meat into hot jars. Do not pack too tightly.
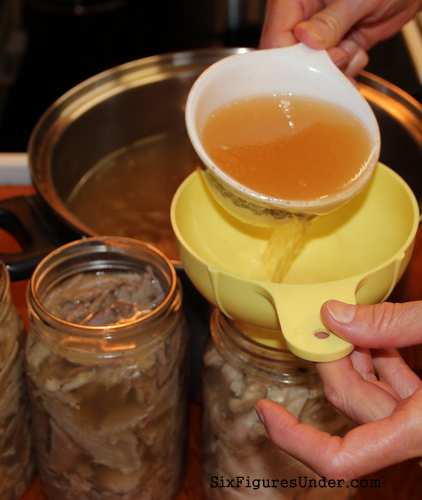
Ladle boiling broth (or water) into the jars. Leave 1- inch of empty headspace in each jar– this is important!
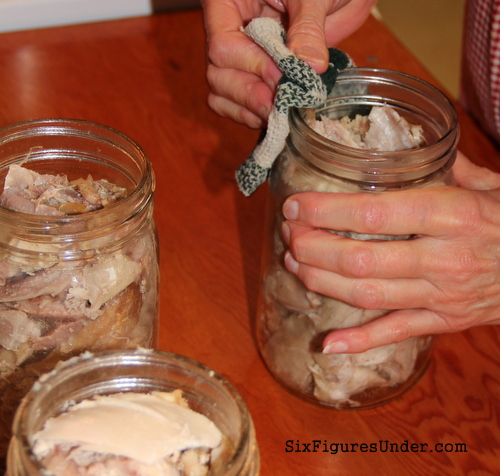
Double check that the jar rim is still clean. (The pic below is before putting broth in.)
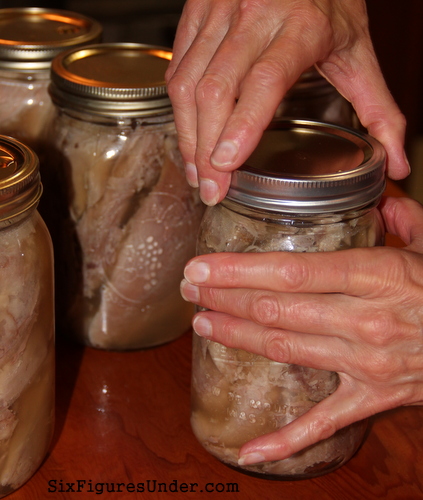
Boil your flat lids in a sauce pan on the stove to sterilize them and help soften the rubber gasket.
Screw on your rings tightly.
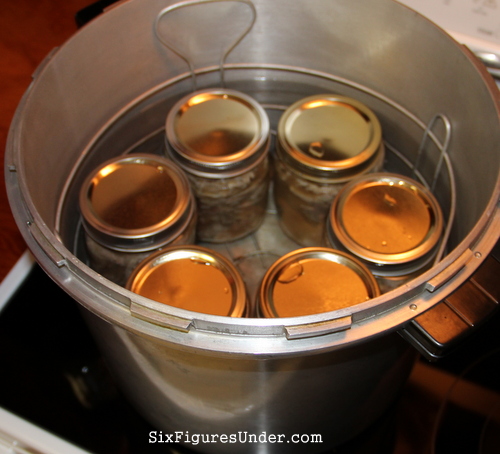
Be sure you have the rack in the bottom of your canner. This holds the jars off the bottom of the pan, which is important in preventing breakage.
Tip: To reduce the chance of breakage even more, put a couple of canning rings under your rack to hold it just a little higher from the bottom of the canner.
Fill the bottom of your pressure canner with about 3 inches of hot water. It doesn’t need to be boiling, but it shouldn’t be cold. Jars break when they change temperature too quickly, so the temperature of the water shouldn’t be a shock to your jars that are filled with broth that was recently boiling.
Fasten the lid on the canner and slowly bring it up to pressure. This will take some time. The amount of pressure necessary is 10 pounds, plus an additional 1 pound for every 2,000 feet above sea level. For us, that means 11 pounds.
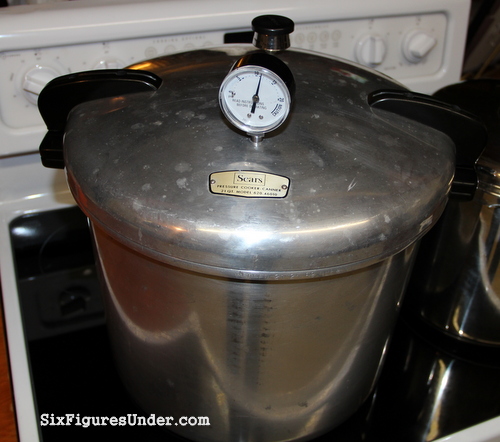
When the canner reaches pressure, you can begin timing. Don’t go too far away, because you will need to monitor the pressure gauge. Adjust the heat as necessary to maintain the correct pressure. You don’t want it to drop below the right pressure, but you also don’t want it rising too high. Fluctuating pressure is another cause of breakage.
Process Pints for 75 minutes
Process Quarts for 90 Minutes
When the time has elapsed, immediately remove the canner from the heat, but don’t try to open it or mess with anything. Let the pressure release on its own. Wait a few minutes after the gauge reads zero before opening the canner. This will take 30 minutes or so. After the pressure has released, slowly open the valve or remove the weighted gauge. Remove the lid, cautiously and always open it away from you or you may get a face full of hot steam.
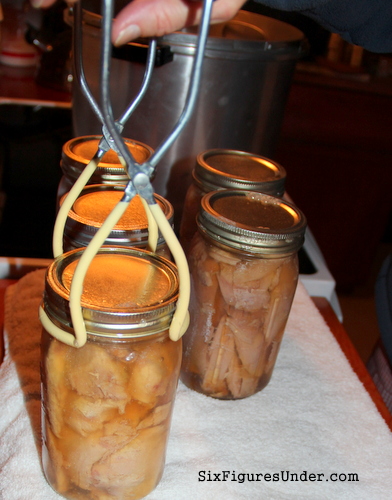
Using the jar lifter, transfer the jars to a towel on your counter. Let them cool.
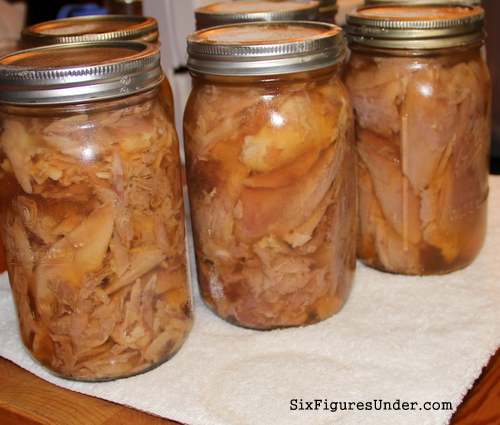
After jars have cooled completely, check the seal on each jar. The center of the lid should be down. You shouldn’t be able to press it in. Remove rings and wash jars. Dry them, then label and date the jars.
If some of the jars have lost liquid, that is okay. The meat might darken, but it won’t cause spoilage.
Using Canned Meat
Store canned meat (and other canned items) in a cool, dry, dark place, like on shelves in your basement, or even under your bed.
When you are ready to use your canned meat, check to make sure the jar is still sealed. To be cautious, boil your home-canned meat for 20 minutes. This is a great way to test for spoilage because the heat will intensify the odor if the meat is spoiled. If you are adding the meat to a soup or stew, that will easily take care of this step for you.
Signs of spoilage include bulging lids, gas bubbles, spurting liquid when you open it, a bad odor, or discoloration. If you suspect spoilage of meat, don’t test it by tasting it!
Home-canned meat is great in soups, stews, casseroles, or any way that you would normally use meat. It’s versatile and makes a great addition to your home storage without requiring the electricity you would need for a freezer!
Note: This post contains affiliate links to products that I recommend on Amazon. For more information, see my disclosure page.
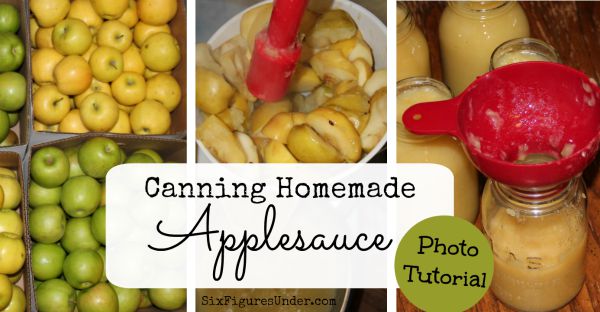
You’ll Also Enjoy:


I have ground turkey frozen, its raw, can I thaw them out and then can them?
What is the shelf life
National center for home food preservation states that meat should be hot packed after cooking me 2/3 the way thru. If you can meat when fully cooked then pressure can process for 75/90 min wouldn’t meat be very over cooked?
When I think of canning I only think of vegetables. Thanks for sharing a great tutorial. #HomeMattersParty
Thank you so much for this tutorial! I have been searching for canning cooked meat! I am doing chicken and corned beef hash this weekend!!! Thanks again!
Great! I’m glad it was helpful. Happy canning!
We just put up some pork shoulder in quart jars this past weekend. It’s our first time canning meat, but not the first time pressure canning. The disadvantage for us is that we have to go outside and use the hi-pressure propane burner for pressure canning because we have an induction range, and there are no pressure canners (of size) that work on induction – yet. There’s a European one that holds a whole 4 pints….
Going outside would be a challenge! One of the best parts about canning in the fall and winter is that it warms up the house. 🙂
I have 2 Fagor 10 quart stainless steel pressure cooker/canners that are induction friendly. Each holds 7 pints, or 4 quarts if I flip the rack up side down. I LOVE them! I pressure can all kinds of things in them, including meats.